Buy Our Tea
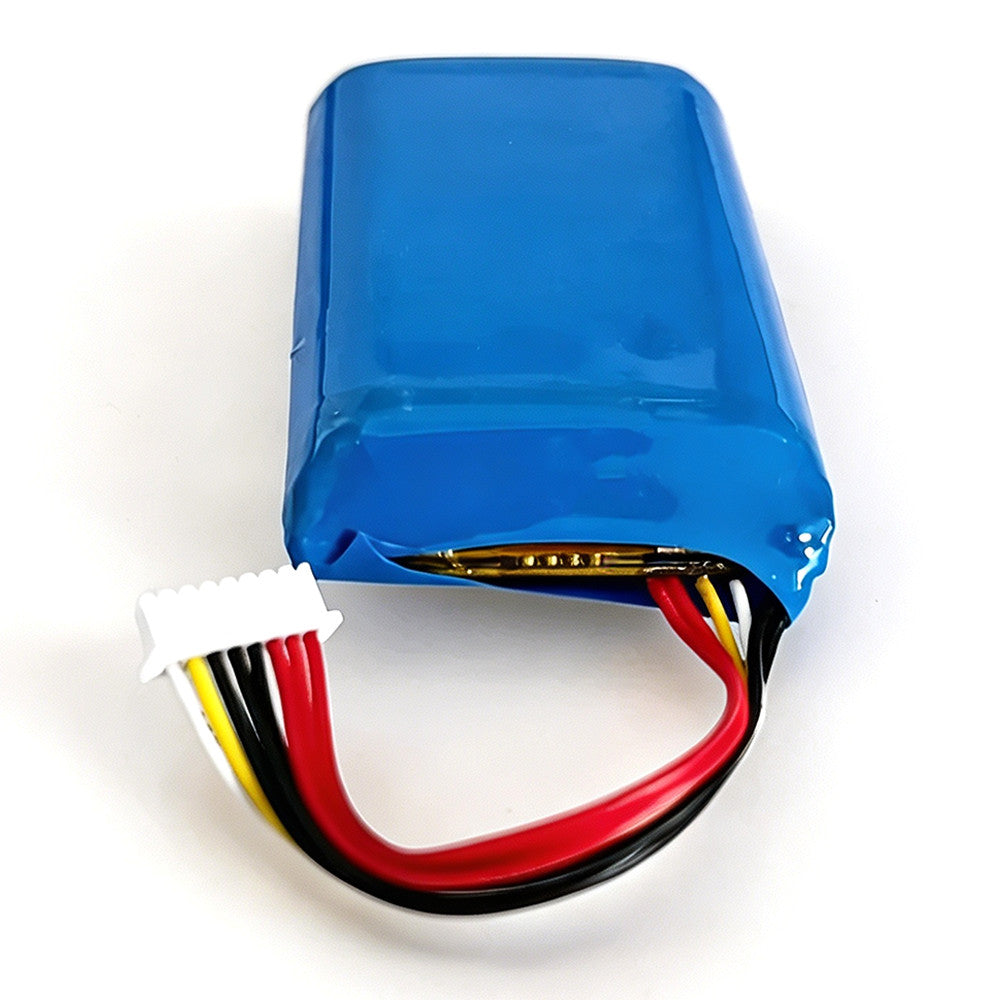
3950mAh Battery For DJI Mavic 2 Pro/Zoom Remote Controller RC1A/RC1B 623758-1S2P
3950mAh Battery For DJI Mavic 2 Pro/Zoom Remote Controller RC1A/RC1B 623758-1S2P
Couldn't load pickup availability
3950 mAh Replacement Battery for DJI Mavic 2 Pro / Zoom Remote Controller (RC1A / RC1B)
Compatibility

️ NOT compatible with DJI Smart Controller RM500.
️ This is the internal battery that lives inside the RC1A/RC1B body — not an external power bank, not a stick battery.
In The Box
- 1 × 3950 mAh Li‑Po Replacement Battery
Product Overview
The 623758‑1S2P is the correct‑spec service battery for the Mavic 2 Pro / Zoom remote controls (RC1A/RC1B). These controllers famously suffer from aged internal packs after years of service — swelling, sudden shutoffs, or refusing to charge past 50%. This replacement restores the remote to full day‑long stamina without modifying the chassis. It follows DJI’s OEM electrical architecture: 1S2P parallel pouch cells, 3.83 V nominal, PH plug, and a factory‑style flex with NTC thermistor + fuel‑gauge pins. The result is a clean, solder‑free swap: peel old cell, unplug, plug new, secure.
Key Features
1S2P Parallel Cell Design (More Stable Than 1S1P)
- Two 1975 mAh cells in parallel → 3950 mAh total.
- Lower internal resistance vs single larger cell.
- Smoother discharge curve under screen + processor + video‑link load.
- Longer cycle life, better heat distribution.
True OEM‑Match Integration
- Standard PH (JST‑style) connector — same pitch and keying as original.
- Multi‑wire flex tail: power + signal + NTC + SOC sense.
- No cutting, no soldering, no firmware hacks.
- Remote reads % accurately just like OEM.
️ NTC Temperature Monitoring
- Built‑in thermistor talks to RC mainboard.
- Remote can detect overheating and throttle/disable charging.
- Safety cutoff preserved — no mystery shutdowns.
️ Protected Chemistry
- Integrated PCM (Protection Circuit Module):
- Over‑charge
- Over‑discharge
- Over‑current
- Short‑circuit
⏱️ Runtime Restoration
- New cell revives: ~2.5–3 h continuous screen‑on time.
- Supports max link power for OcuSync 2.0 without voltage sag.
- Eliminates “RC battery low” warnings mid‑flight.
️ Technical Specifications

Installation & Usage Tips
- Opening the RC: Requires T6 / T5 screwdriver — back shell pops off, ribbon cables stay connected.
- Old Battery Removal: Usually held by mild adhesive — gently peel from edge, don’t puncture.
- Plug Orientation: Tab clicks one way only; don’t force reverse.
- First Charge: After install, fully charge remote to 100% — allows BMS to calibrate capacity.
- Break‑In: 2–3 charge/discharge cycles smooth out reporting accuracy.
- Swollen Old Pack? Dispose properly — never reuse or pierce.
️ Safety Warnings (Critical)
- DO NOT puncture, crush, bend, or cut the pouch cell.
- DO NOT short positive and negative tabs.
- DO NOT charge unattended for first cycle.
- DO NOT expose to >60 °C or direct sun inside parked car.
- NEVER mix old battery + new battery in same device (this controller only holds one anyway — don’t daisy chain).
- Dispose as lithium — take to electronics recycling / battery drop‑off.